Chair ties are a staple in rope practice and bondage performance because ordinary furniture becomes a versatile anchor for restraint, sensory play, and staged scenes. They range from gentle, playful holds to strict, immobile configurations. Done well, a chair tie can create intense focus, clear power exchange, and visually striking lines — but because chairs change body geometry and can press rope into bones and nerves, safety and anatomy awareness are essential.
How to read this guide (quick notes)
- Every tutorial includes a short “what it feels like” note and an explicit safety checkpoint.
- I assume you have safety shears, a plan for communication, and a simple signal for non-verbal ok/stop.
- Do not attempt anything involving the neck, spine, or suspension from a chair without formal training.
The fundamentals before any chair tie
Consent and negotiation
Agree on hard and soft limits, safewords or safe gestures, medical issues (shoulders, knees, circulation), and the maximum intended duration. Confirm aftercare needs.
Equipment
- 6–8 mm natural-fibre rope (jute/hemp) or soft cotton for beginners.
- Safety shears within arm’s reach.
- Cushions or towels to pad pressure points.
- Timer and a phone (in reach).
- Optional: quick-release carabiner or slip bight for temporary tension adjustment.
Basic checks
- One finger should be able to slide under a finished wrap for comfort unless you have explicit consent for stricter ties.
- Monitor extremities for colour, temperature, and sensation every few minutes.
- Never leave a tied person unattended.
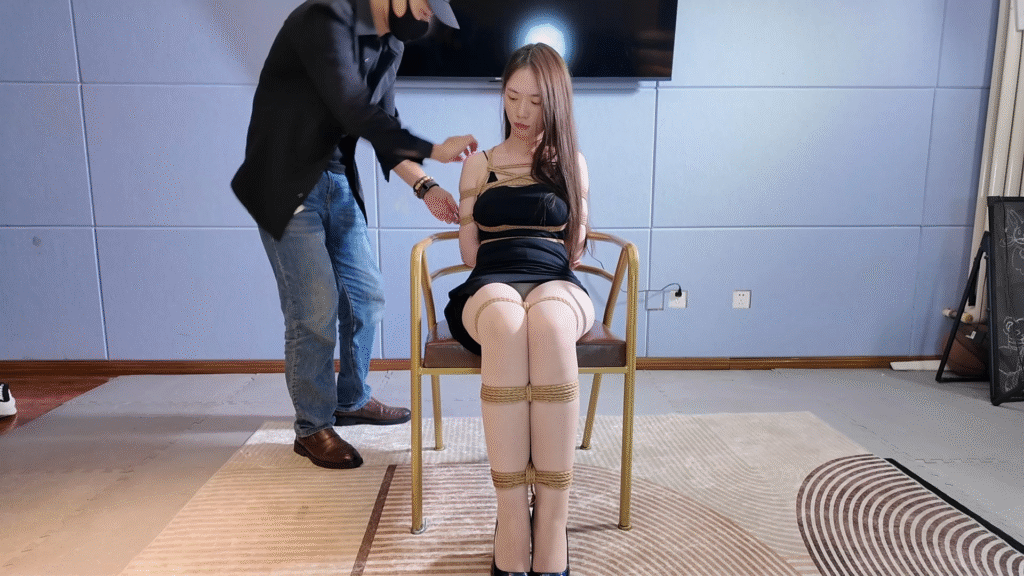
1 — Basic Seated Wrists-Behind Tie (Foundational chair tie)
What it is: A simple, low-risk chair tie where the sitter’s wrists are tied behind the chair back or behind their body, leaving legs free or lightly restrained.
Why use it: Introductory position, good for conversation-play, sensory exploration, and as a base tie for more complex setups.
Tutorial (step-by-step):
- Sit the bottom in the chair so their back rests against the seat back. Ensure hips are seated firmly.
- Use a double-column tie on both wrists (two-column wrists technique) so each wrist is secure but circulation-friendly.
- If tying to the chair back, run a short anchor line across the rear of the chair and attach wrists with an adjustable bight so you can loosen quickly.
- Add a single ankle tie if you want reduced mobility; otherwise leave legs free.
- Check for shoulder comfort. Ask the sitter to lift and lower their shoulders before tightening the wrist connection so you can assess range.
What it feels like: Secure and contained. A seated position keeps chest expansion natural and gives the bottom access to conversation.
Safety checkpoint: Avoid drawing the wrists high behind the chair in a way that retracts the shoulder blade excessively; shoulder strain and rotator cuff issues are common if over-tensioned.
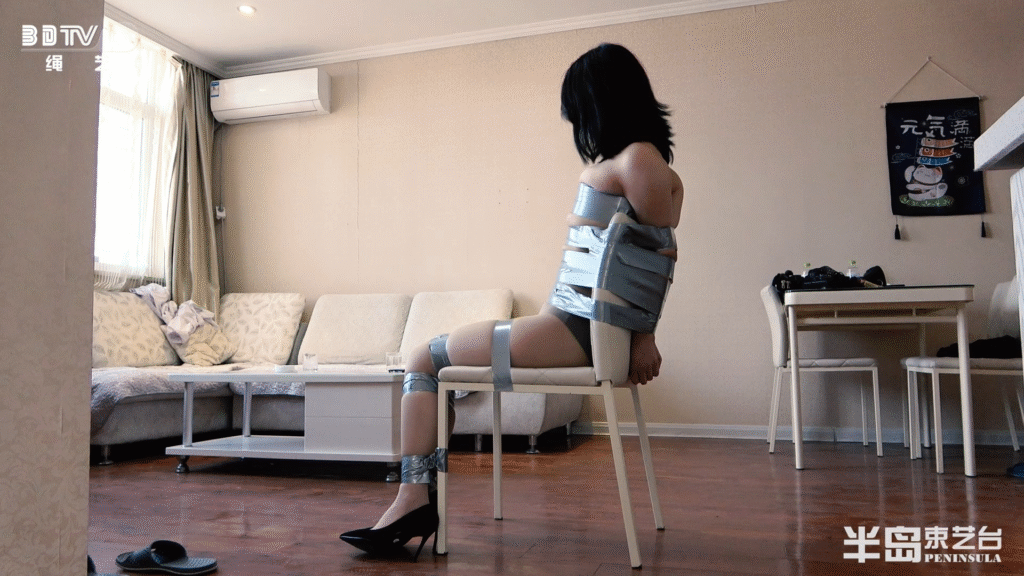
2 — Chair Hogtie (Hands and Feet Anchored to Chair)
What it is: A compromise between floor hogtie and seated restraint; ankles are brought back and attached to the chair frame while wrists are tied behind the chair or body.
Why use it: Strong immobilisation while preserving some vertical orientation; useful for sensory play and position-specific impact.
Tutorial (step-by-step):
- Seat the bottom and tie wrists behind the back as in the basic seated tie. Use a comfortable double-column tie.
- Gently bring the ankles toward the rear seat supports (or under the chair) and use an adjustable ankle tie — do not force knees into unnatural angles.
- Run a connecting rope between wrists and ankles. Tighten slowly and in stages, checking for jaw, chest, and shoulder comfort.
- Place a towel under the hips if the connection pulls the pelvis backward to ease lumbar compression.
What it feels like: Compressed and exposed; mobility is restricted more than the basic seated tie.
Safety checkpoint: Watch breathing and lower back strain. If the bottom reports pins/needles in feet or hands, loosen immediately.
3 — Side-Leg Spread (Spreader-style Chair Tie)
What it is: A seated tie that keeps one or both legs spread apart (side-leg or straddle), either tied to armrests or secured with a short spreader line.

Why use it: Offers access for sensation play while keeping the sitter upright and easily monitored.
Tutorial (step-by-step):
- Ensure the chair is stable and has armrests or fixed legs suitable for gentle anchoring.
- Tie ankles with comfortable wraps; route a short line from each ankle to the corresponding armrest, keeping slack so legs can be adjusted without pressure.
- Add wrist ties behind the back or in front across the lap depending on the desired exposure.
- Use padding under the knees and between the ankle rope and the bone to avoid rope-on-bone pressure.
What it feels like: Exposing and open; good for teasing and sensory layering.
Safety checkpoint: Avoid anchoring to removable or weak armrests. Keep spread width moderate to avoid hip joint strain.
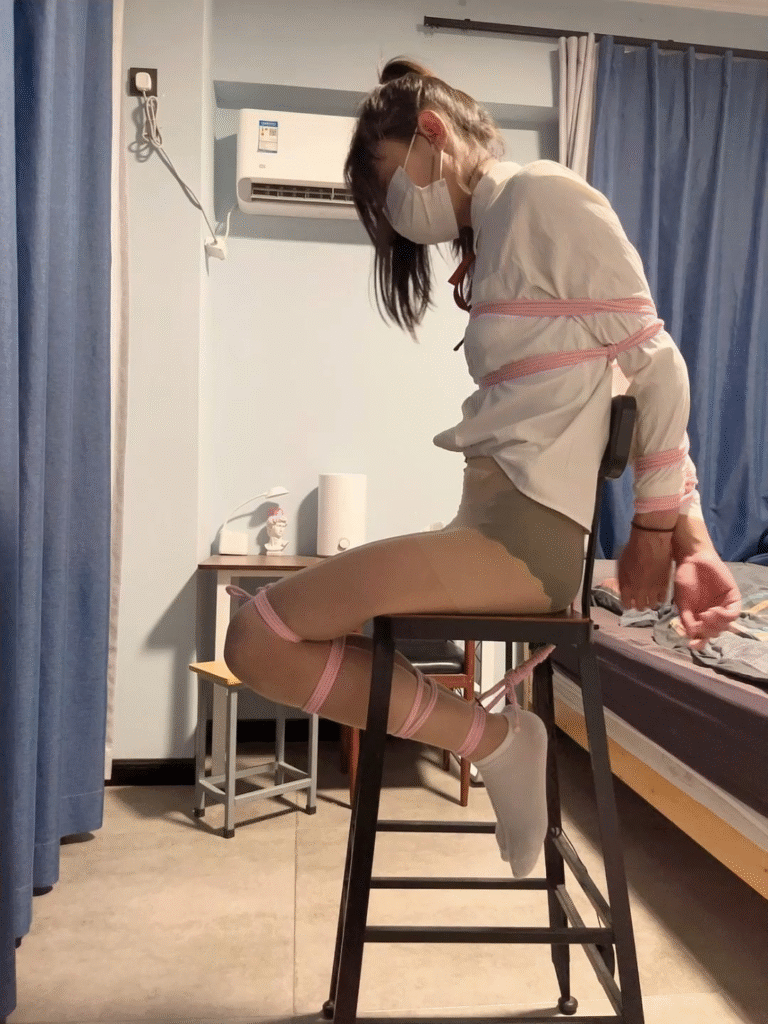
4 — Forward-Lean Chair Tie (Chest-Supported)
What it is: The sitter leans forward over the chair back (or across a rolled towel) with wrists secured behind the chair and legs either free or restrained.
Why use it: Creates spinal flexion, increases chest exposure, and offers unique weight distribution for sensation play.
Tutorial (step-by-step):
- Place a towel roll or cushion on the chair back for the sitter to lean onto, protecting the chest and collarbones.
- Tie wrists loosely behind the chair back. Use an adjustable bight so you can change the angle without retying.
- Adjust hip position so the pelvis is supported and the lumbar spine is not hyperflexed.
- If adding ankle ties, ensure they do not pull the pelvis further forward; the aim is comfort with slight leaning.
What it feels like: Forward pressure across the chest and a sense of containment; can be intense for those with respiratory sensitivity.
Safety checkpoint: Never combine this tie with any breath restriction. Monitor breathing and avoid prolonged holds for bottoms prone to anxiety or breathing issues.
5 — Elevated Feet / Leg Raise Chair Tie
What it is: The sitter’s feet are supported on the chair back or armrest (knees bent), with wrists tied behind or under the chair. This can be thought of as a mild inversion.
Why use it: Changes circulation and sensation in the legs and pelvis; useful for edging, sensation contrast, or photoshoots.
Tutorial (step-by-step):
- Confirm the sitter is comfortable with elevated legs and has no blood pressure or circulation issues.
- With the sitter seated, guide the legs up so feet rest on the chair back or armrest. Use padding where feet touch wood.
- Tie the ankles with slack that allows micro-adjustment. Secure wrists behind the back.
- Monitor for pins and tingling in lower limbs closely in the first two minutes.
What it feels like: A slight shift in pressure and blood flow; some report a floaty feeling.
Safety checkpoint: Stop immediately if dizzy, nauseous, or experiencing limb numbness. Keep session durations short and gradual.
6 — Decorative / Performance Chair Harnesses
What it is: Combines chest/hip harnesses with chair ties to distribute load and create visual rope patterns suitable for photography or stage performance.
Why use it: Offers more comfort for longer displays and gives riggers a way to create dramatic lines without harmful tension points.
Tutorial (concept overview):
- Build a basic chest harness (e.g., simple box or star harness) that spreads tension across torso rather than concentrated at wrists.
- Use the harness to anchor a gentle connection to the chair (e.g., low back tie or seat anchoring).
- Pair with loose wrist/ankle ties primarily for aesthetics rather than strict immobilisation.
What it feels like: Decorative control — less intense physically, higher visual impact.
Safety checkpoint: Prioritise harnesses for longer scenes; never rely on decorative rope as sole safety anchor.
Variations to Avoid Unless Trained
- Any chair tie involving neck compression or rides on the neck.
- Chair ties that evolve into suspension without rated points and training.
- Ties that leave the person unable to signal distress (gags without alternate signals).
If you want advanced aesthetics (hair-to-ankle, partial lift), learn them in person with experienced teachers first.
Aftercare and Debrief
- Untie slowly and in a controlled order, easing tension points first (release legs before wrists if circulation is suspect).
- Offer water, blankets, and a grounded space to reorient.
- Debrief verbally: what felt good, what hurt, and adjustments for next time.
Quick Chair-Tie Safety Checklist
- Consent yes / no: yes
- Safety shears within reach: yes
- One finger test under key wraps: pass
- Padding under pressure points: yes
- Non-verbal safe signal established: yes
- Timer set and monitored: yes
Closing notes and resources
Chair ties are powerful tools in rope play — versatile for gentle scenes, useful for photography, and capable of creating strict immobilisation. The difference between a scene that’s intense and one that’s dangerous is always the rigger’s attention to anatomy, communication, and contingency planning.